Tutorial valid for Maps Marker Pro v4.30 and up
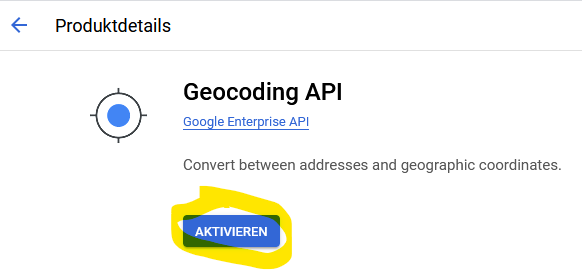
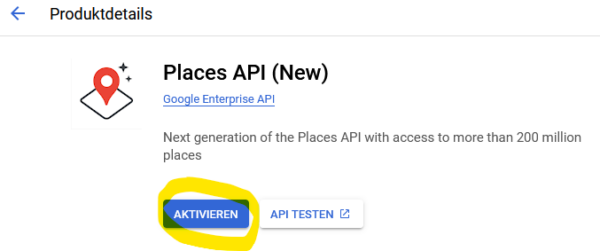
Maps Marker Pro has a built-in geocoding framework which allows you to choose which geocoding provider to use. If you want to use Google for geocoding, you have to generate a Google Maps API key for Places API and Geocoding API.
This tutorial will show you how to enable Google Geocoding in Maps Marker Pro by generating a Google Maps API key for Places API and Geocoding API.
We recommend to create a unique key for Google Geocoding in Maps Marker Pro only – even if you already registered a key for Google basemaps (as other methods for securing your Google geocoding key e.g. against quota theft are needed, see “Optional steps (Recommended)” below for details!)
Prerequisite: you must have a Google account to generate a Google Maps API key for Places API and Geocoding API.
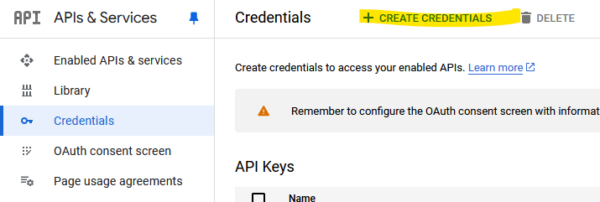
Go to the Google Cloud Console and log in with your Google account.
For security reasons, restrict the API key to prevent unauthorized use:
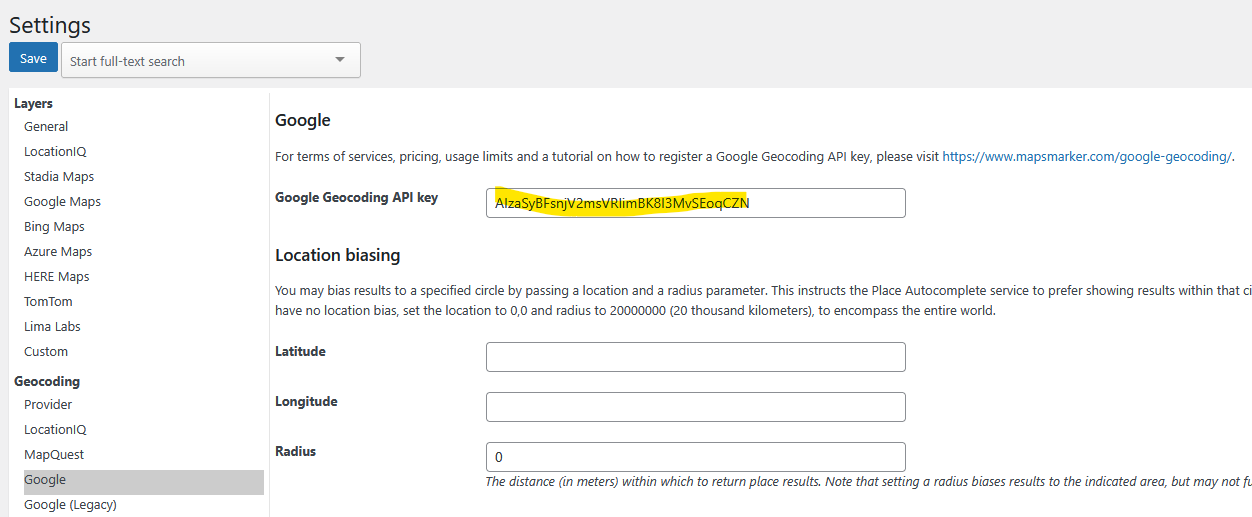
Log in on your WordPress Admin and navigate to Settings > Geocoding > Google and paste the server key you copied earlier into the “Google API server key” field:
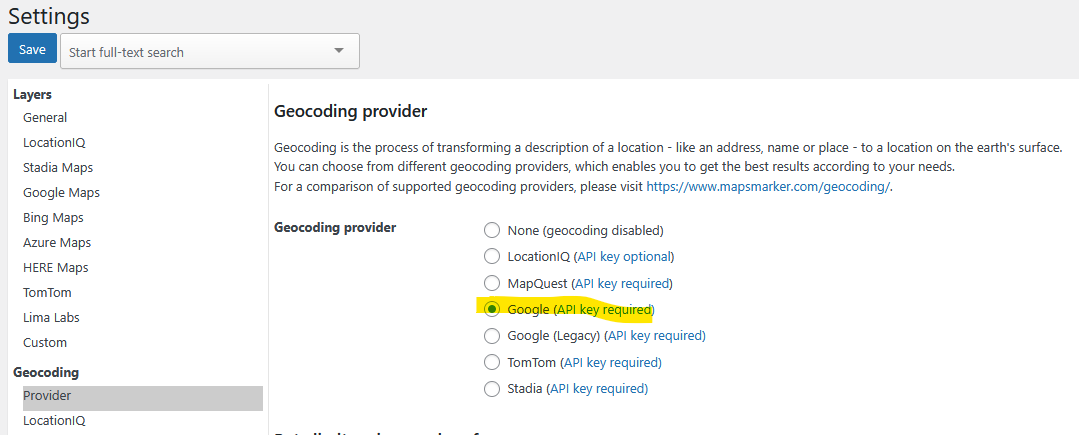
Navigate to Settings / Geocoding / Provider and select Google as geocoding provider:
Finish by clicking the “Save” button on top of the settings page.
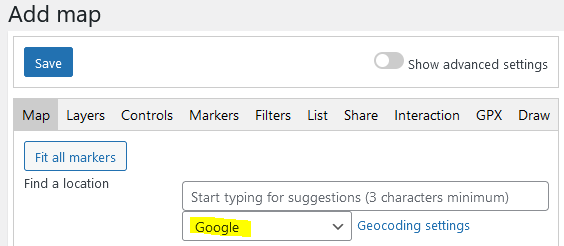
That´s it. Afterwards you can start using Google geocoding when creating a new map or marker:
“In June 2018 Google launched a new pricing plan. Google continues to offer a free tier — all developers will receive $200 of free monthly usage of our core products. In addition, this change will require you to enable billing and associate it with all of your Google Maps Platform projects. (full official announcement)” – for a summary on how this affects you as Maps Marker Pro user, please have a look at our FAQ at https://mapsmarker.com/google-maps-tos-changes
All Google´s related Terms of Services can be found at https://developers.google.com/maps/terms.
If you enable Google Geocoding, the following 2 Google APIs will be used:
As Google gives all developers $200 of free monthly usage, only loads which exceed this amount will be directly billed by Google.
Subscribe to our newsletter to not miss any news - you can unsubscribe at any time: